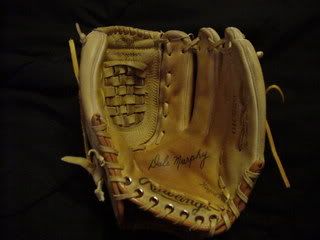
As you can see, there are still numerous areas where I could have done much better.
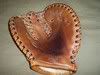
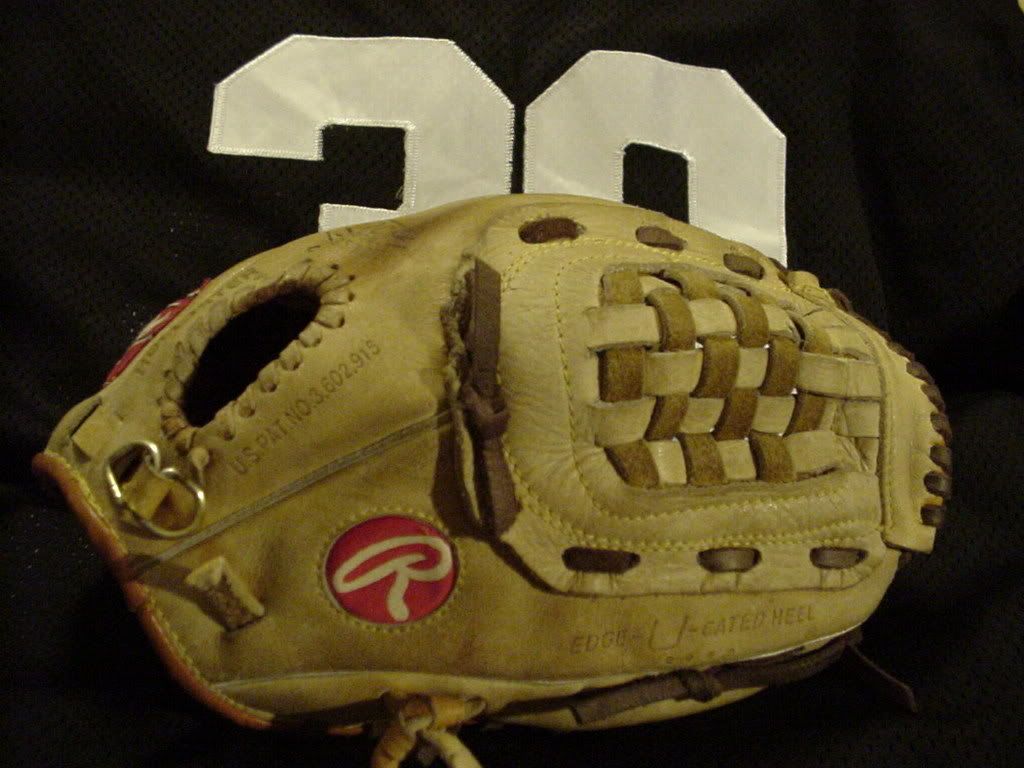
1. The spiral lacing across the top of the web is wound backwards. I am still not sure exactly what I did, there.
2. You can see two parallel scratches along the top of two fingers in that first picture, where I stabbed my glove with the ends of the lacing wire needle. ADVICE: USE THE DULLEST TOOLS POSSIBLE.
3. In some areas, the lacing is not twisted correctly. You will notice that the rough side of the lace appears next to the smooth side in several places. I didn't notice that until I was way past those areas and decided not to re-do them. ADVICE: LET YOUR GLOVE HAVE SOME CHARACTER!

4. Again, in the category of "I don't know how I messed this up, but I must have messed it up somehow," you will notice an unsightly gap in the piping area under the pinky. I think in the internal lacing I may have skipped a lace, causing the puckering that you see in the picture. It throws the pinky slightly inward, making the glove very easy to close, but not too easy to open wide. Again, I didn't realize I had done this until it was too late for me to want to go back and change it.
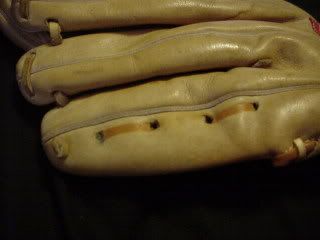
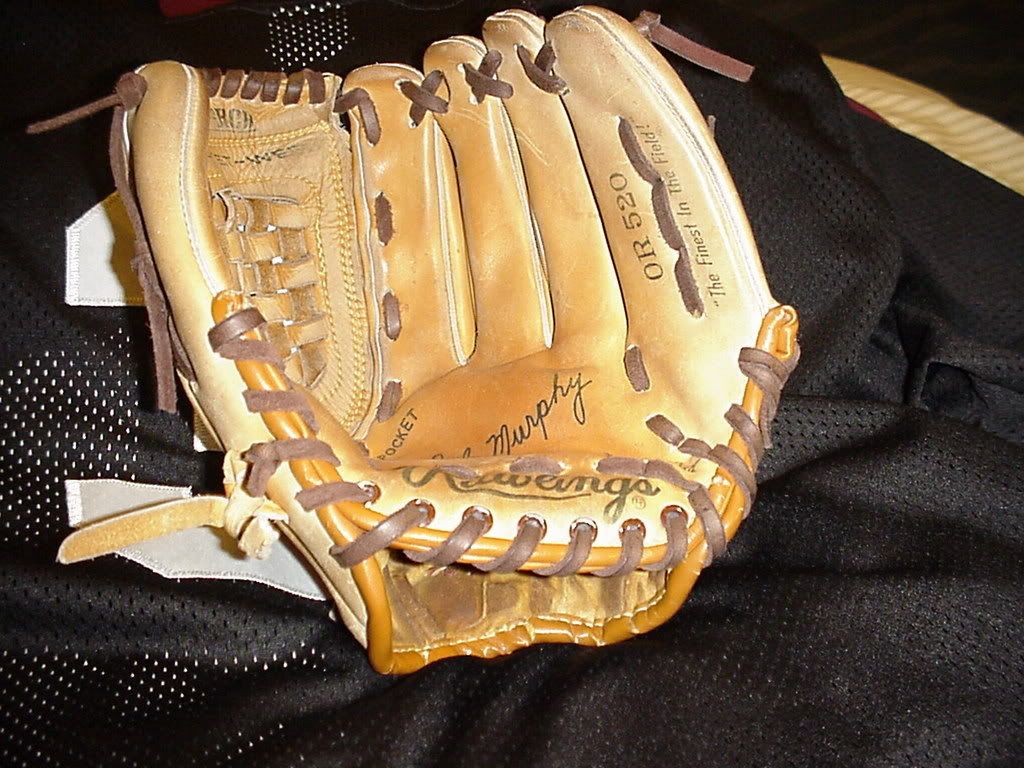
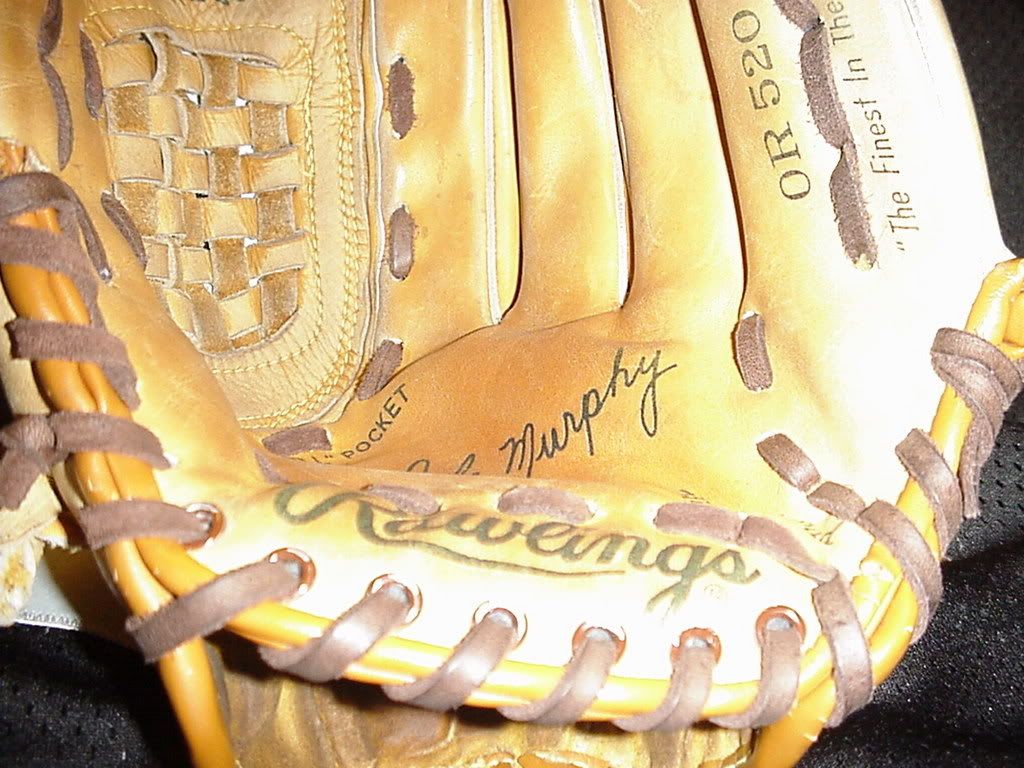
Some things you might also notice: The glove now is much stiffer and sturdier than before. The addition of the padding in the palm and index finger stall and the newer, thicker lacing combined to strengthen and stiffen the glove significantly. And, you will notice that the lines of the glove are different. Even the pocket is different because of the extra padding. The OR 520 had zero, zip, nada, zilch for padding in the palm, so I cut a piece from an old running shoe insole and inserted it between the palm shell and the palm lining. I used a wooden spoon handle to gently, delicately SHOVE the new padding material into the finger area, though only about 1/3 of the way ... just enough to protect the painful areas of my index finger when I catch a liner in the palm instead of the web. The first layer of padding felt so good as I tried it on, I added a second layer. You will also notice that I did not mess with the thumb loop, the d-ring adjustment strap, or the smaller lacing around the index finger hole. I have an idea or two for those areas in the future ... MAYBE ...

Anyway, there you have it ... my Dale Murphy customization project. I am happy with how it turned out, though I am a little sad that it is no longer original. But, I am glad I have its original twin ... you know, for when I WANT to bruise my palm with liners!
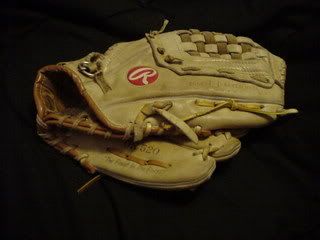
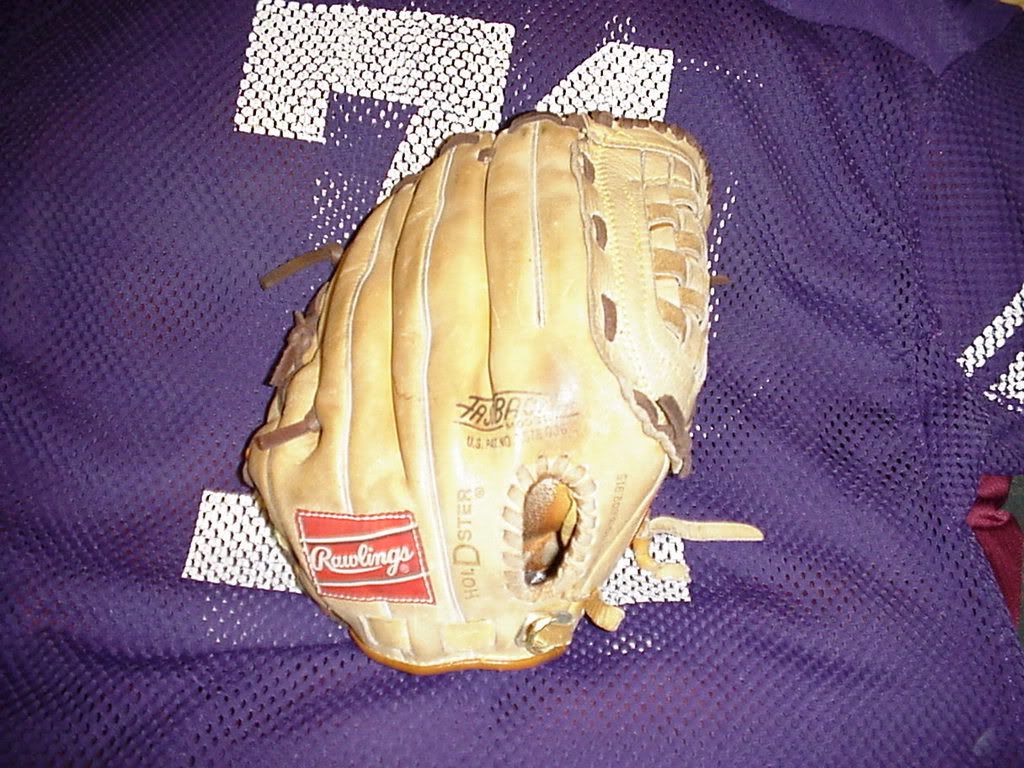
Yes, I still have my first glove.