Vintage Baseball Glove Forum
A gathering place for colletors of vintage baseball gloves to discuss, buy, sell and trade
Index/Middle Finger Rip
8 posts
• Page 1 of 1
Index/Middle Finger Rip
![]() by opticsp » April 19th, 2008, 10:13 pm
by opticsp » April 19th, 2008, 10:13 pm
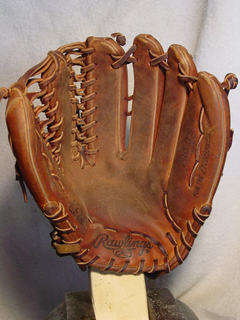
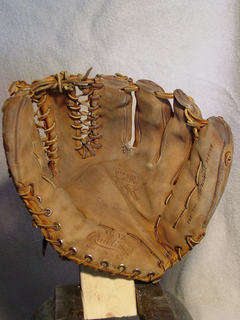
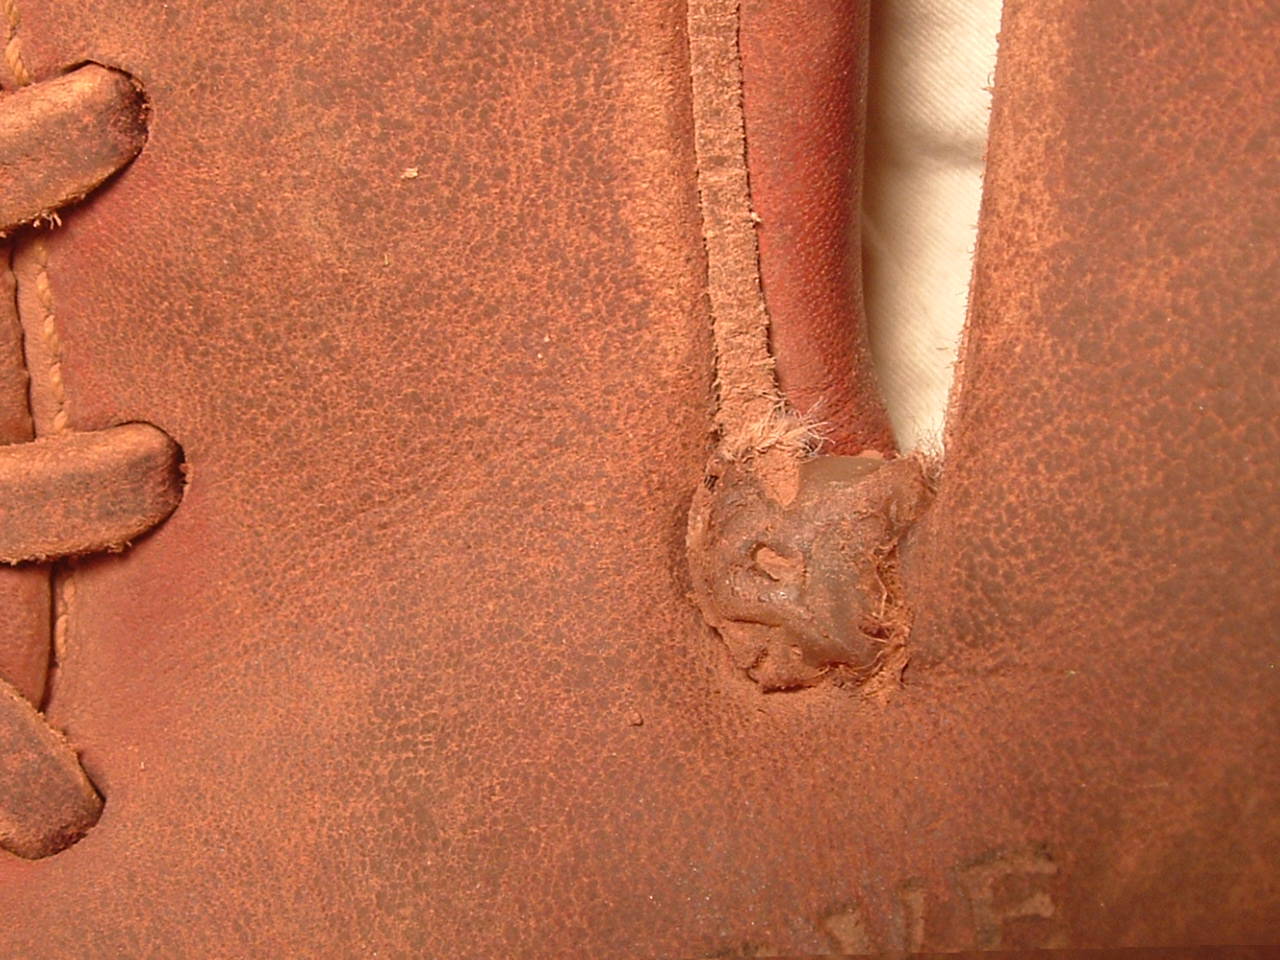
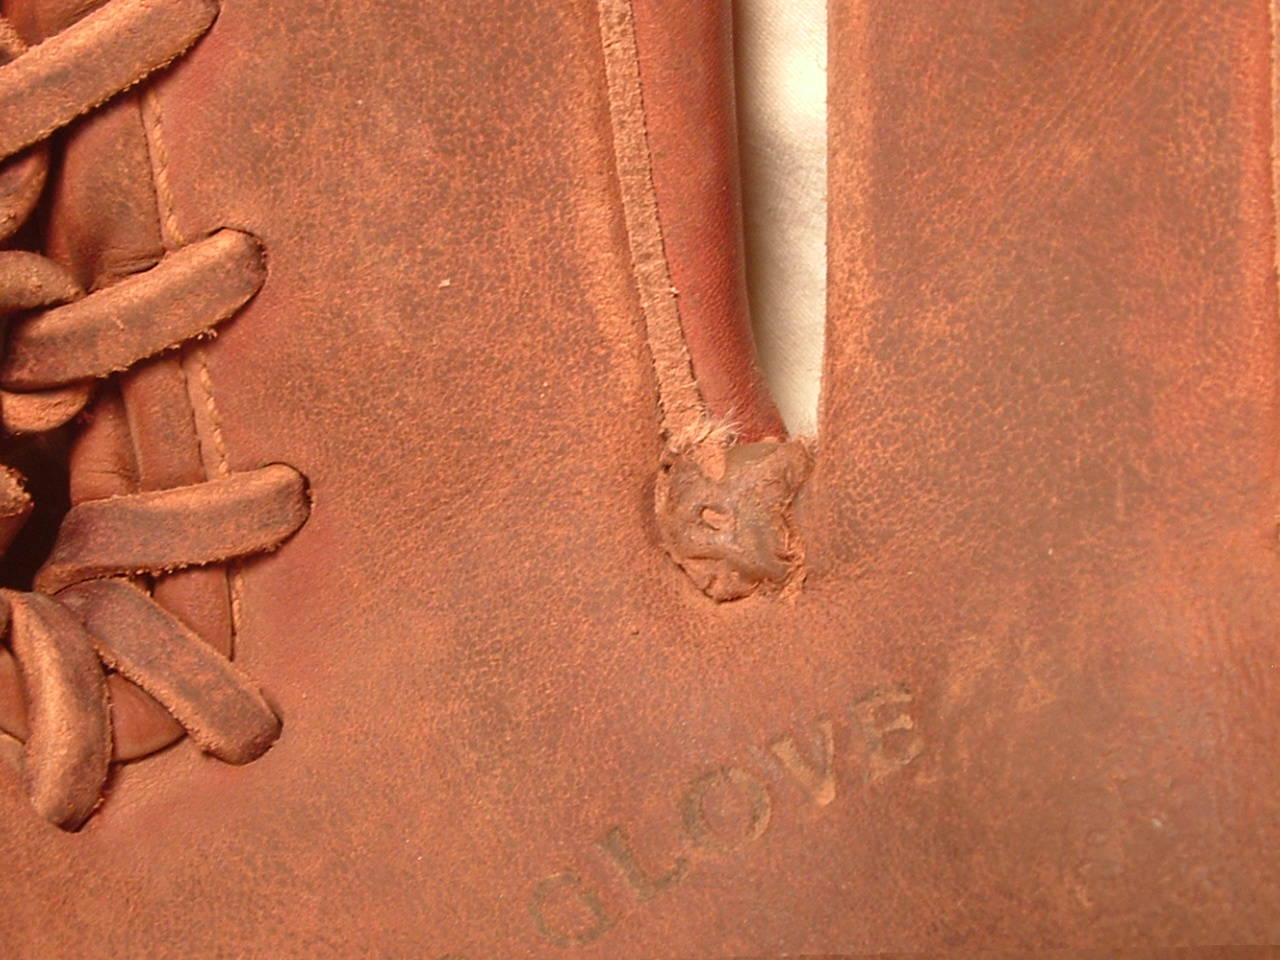
I just noticed a small tear developing between the middle and index finger of my glove. Is there anything I can do to prevent it from spreading? repairing?
- opticsp
- Veteran Glove Poster
- Posts: 193
- Joined: February 6th, 2008, 11:20 pm
- Location: Brooklyn, New York
![]() by opticsp » April 21st, 2008, 9:36 pm
by opticsp » April 21st, 2008, 9:36 pm
Cusser: Can you please let me know how you did this. i have a glue gun that I could use but want to know your process. Is this the only method you know about? How "permanent" is it?
Thanks for your help.
Thanks for your help.
- opticsp
- Veteran Glove Poster
- Posts: 193
- Joined: February 6th, 2008, 11:20 pm
- Location: Brooklyn, New York
![]() by Cusser » April 22nd, 2008, 3:15 pm
by Cusser » April 22nd, 2008, 3:15 pm
I just used the glove Sunday to catch with my 17 year old daughter, I'll take another look at it to see how it's held up, but I did the repair about a year ago.
This type of glue stays flexible. Mine's from Home Depot, maybe about $15, standard hot glue sticks. I let the unit warm up about 10 minutes, pulled the trigger and wiped off a lttle glue with a rag from the tip. Then I inserted the tip into the hole and squeezed in a little glue, and let it cool. Maybe I can take a close-up photo and post that.
I'm going to send my 1960 TG12 to Kenny for repair/restoration as that's a rare glove. It has a similar rip, and I don't know what/anything he'll do to that, will need to wait for his quotation.
-

Cusser - Veteran Glove Poster
- Posts: 81
- Joined: March 17th, 2008, 12:26 am
- Location: Arizona
![]() by opticsp » April 22nd, 2008, 7:05 pm
by opticsp » April 22nd, 2008, 7:05 pm
Cusser: Thanks for your help. Some close ups would be great. Also, let me know what Kenny has to say because I am getting ready to send him another glove and may send him the ripped one if he can fix it.
- opticsp
- Veteran Glove Poster
- Posts: 193
- Joined: February 6th, 2008, 11:20 pm
- Location: Brooklyn, New York
![]() by dwags4him » April 24th, 2008, 9:20 pm
by dwags4him » April 24th, 2008, 9:20 pm
Just an idea.....
I have found through numerous repairs that the best way to keep this split from spreading is to...
A) Keep the laces of the fingers tight, esp. between the pointer and middle finger stalls.
or
A + B) Add mid-finger support lace, ala what is factory installed in most new Trap-eze gloves. Trapeze's are the most prone to the problem because the web is so efficient at absorbing the shock of a catch that it spreads that shock to the nearest finger joint. Just gently push your hand into any glove's web and watch the joint at the base of the pointer finger stretch. Balls often do not hit the pocket exactly, and that strains this joint even more.
The how to section....
Grab your favorite practice glove
Here's how I have learned to do this....
1) The way that has worked well for me to get very accurate holes is to take a 3/4" or 1" strip of something solid (a ruler works very well), and lightly score the leather in a straight line along both edges (Pen, awl, pencil)....this will establish the line that the holes will occupy.
2) Than mark the holes (dead center in the middle edges of all the fingers, and in line with step 1) with a small Phillips screwdriver, which allows your drill to move without slipping. You can make a slight divot.
3) Grab a drill, or if possible a Dremel rotary tool, and use a very small (1/8") bit (I use a drywall cutting bit, because it won't grab the felt inside the glove) to drill a hole. This hole should completely perforate the leather. Use a very high speed, otherwise you will guaranteed snag the felt inside the leather when you break through.
4) Switch to a sharpening/grinding bit (these usually feel like sandpaper and look conical, sometimes without a sharp point.), and re-do all the holes....this time let the bit widen and smooth the holes....what you will be left with is perfectly circle holes of about 1/4".
5) Grab some lace and re-lace the new piece of leather so that it runs towards the palm of the glove....under where your fingers will rest while in their stalls.
6) Run the string one way....and back again along the other set of holes, looping around on the top side of the pointer finger, than back through the middles of all the other fingers, and back up to the surface of the pinkie finger. Your knot will be very close to the knot that secures the pinkie felt piece inside the glove.
7) Repeat about 20 times, and you will be able to do the whole deal in about 15 minutes....
I have used this on my own gloves for years....it works beautifully. I have never had a glove develop any bad split....just jump on it early...and keep the new lace and the fingertips tight!
No glue...No epoxy....No deaths.
David Wagner
Play It Again Sports Northbrook
847-564-9180
I service all gloves brought to PIAS Schaumburg, Villa Park, Oak Lawn, and Northbrook.
847-899-5423 [Cell]
Play It Again Sports Northbrook
847-564-9180
I service all gloves brought to PIAS Schaumburg, Villa Park, Oak Lawn, and Northbrook.
847-899-5423 [Cell]
- dwags4him
- Veteran Glove Poster
- Posts: 61
- Joined: June 22nd, 2006, 11:03 am
- Location: Chicago
8 posts
• Page 1 of 1
Return to Glove Conditioning and Restoration
Who is online
Users browsing this forum: No registered users and 14 guests